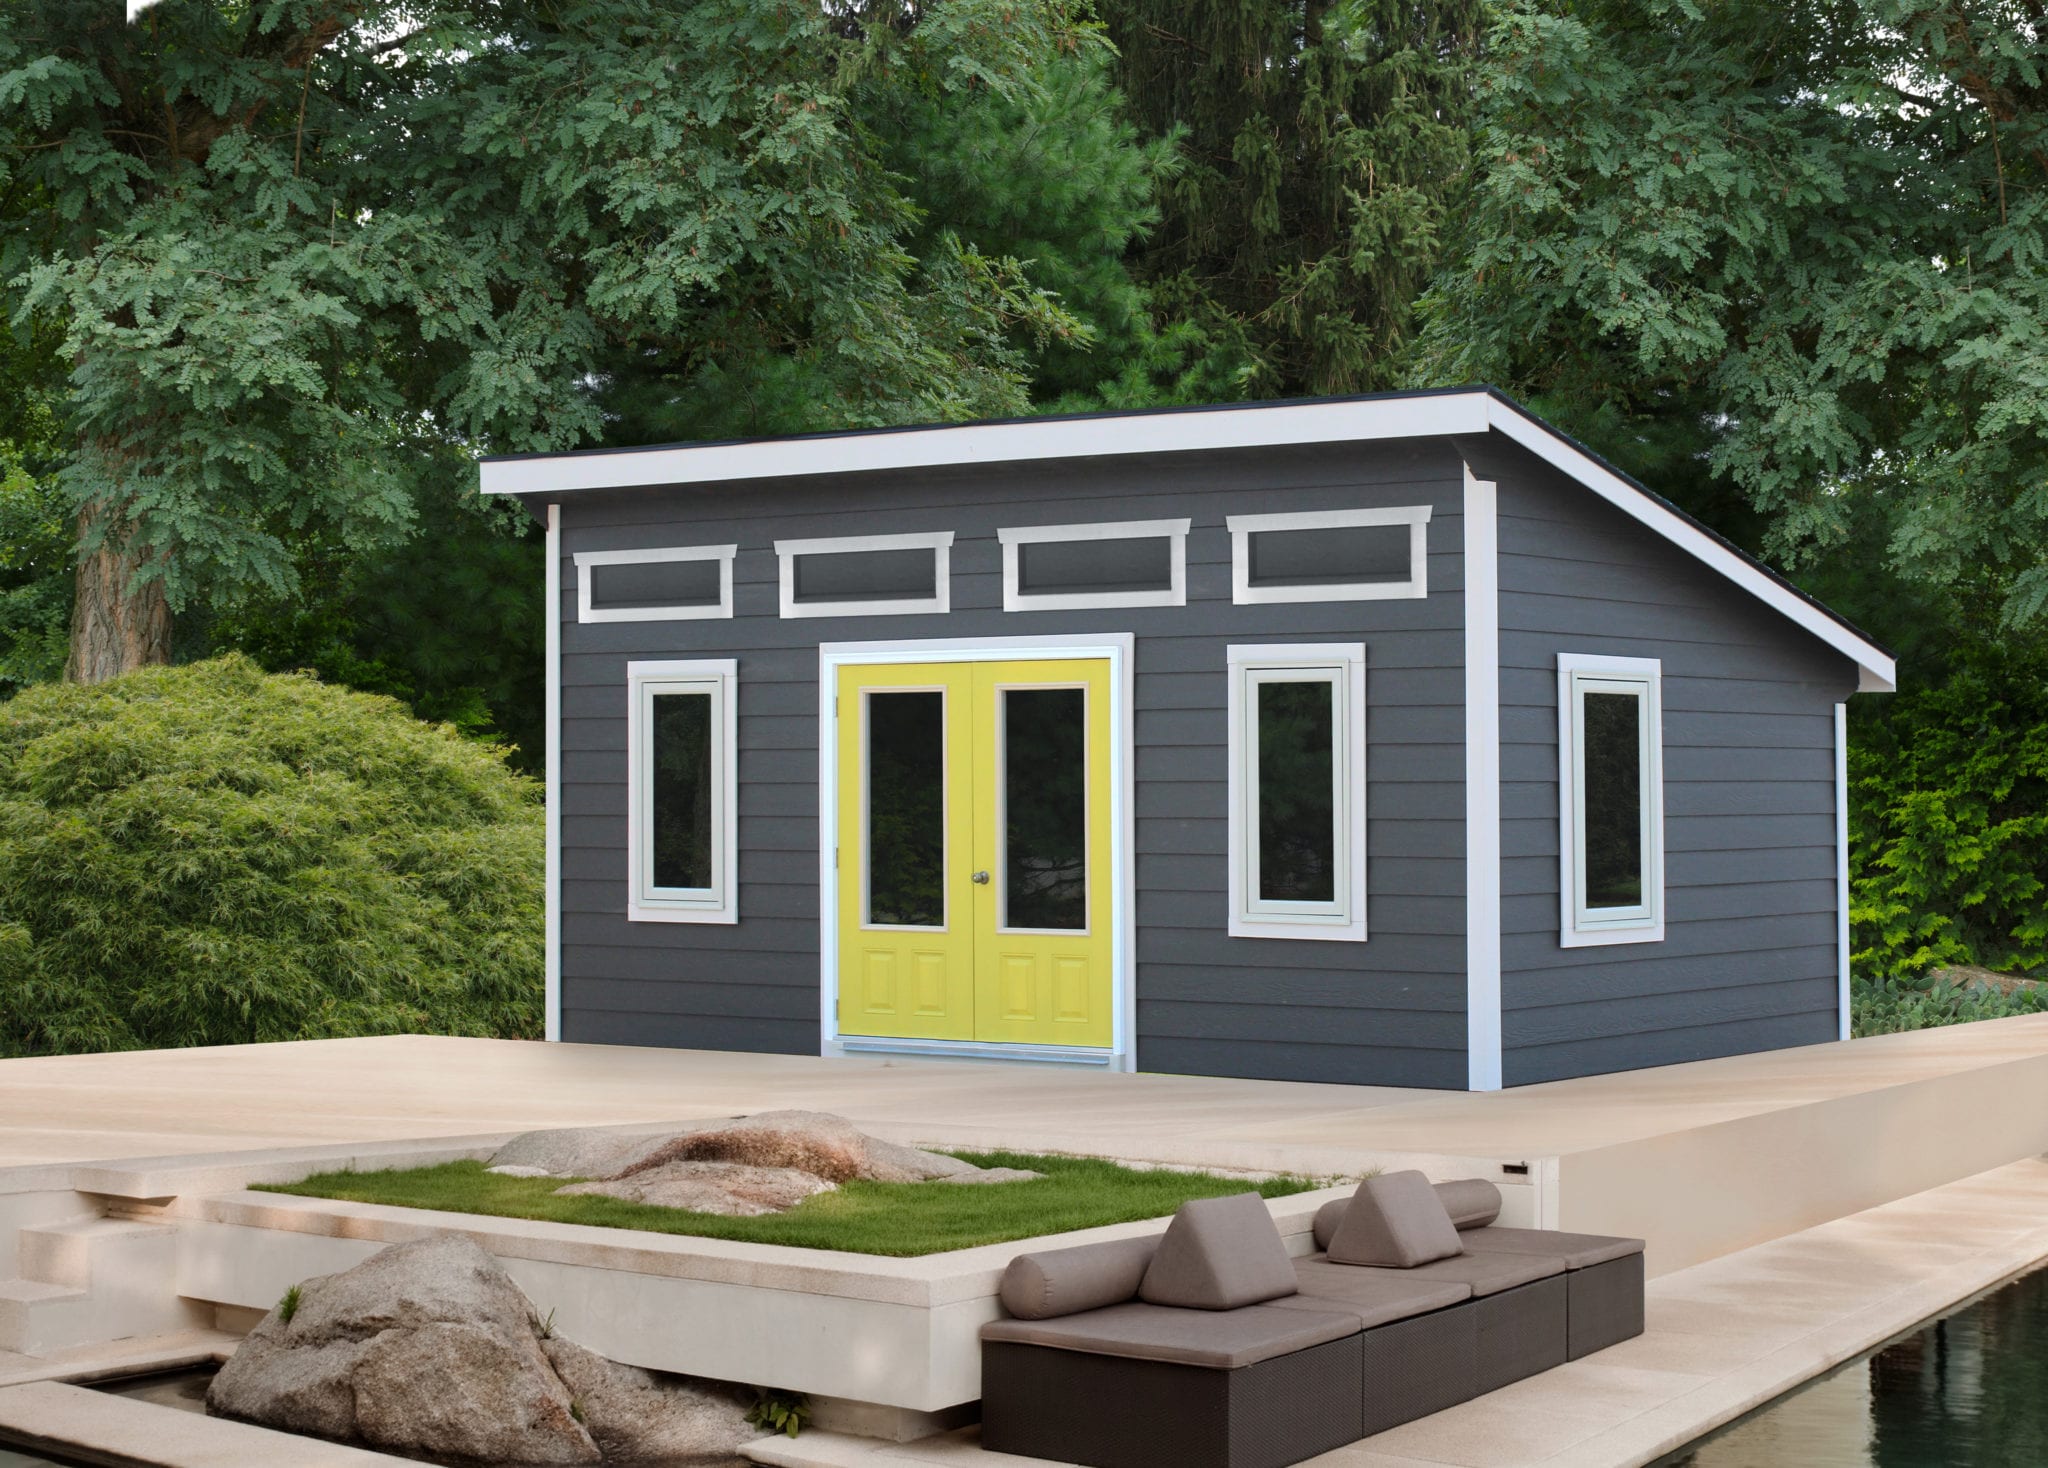
Building a custom shed can be a fun and rewarding project for homeowners who want to add more storage space to their property. Whether you need extra room for gardening tools, sports equipment, or seasonal decorations, a shed is a versatile solution that can be tailored to meet your specific needs. In this step-by-step guide, we’ll take you through the process of building a custom shed from start to finish.
Contents
Step 1: Plan Your Shed
The first step in building a custom shed is to plan your design. Start by measuring the space where you want to build your shed and sketching out a rough floor plan. Think about the size and shape of your shed, as well as any features you want to include, such as windows, doors, or shelves.
You should also consider the materials you want to use for your shed. Common options include wood, metal, and vinyl, each of which has its own pros and cons. Wood is a popular choice because it’s easy to work with and has a natural look, but it requires regular maintenance. Metal is durable and low-maintenance, but it can be noisy and may rust over time. Vinyl is lightweight and easy to clean, but it can be more expensive than other materials.
Step 2: Gather Your Tools and Materials
Once you’ve planned your shed, it’s time to gather your tools and materials. You’ll need basic hand tools, such as a hammer, saw, level, and tape measure, as well as power tools, such as a circular saw, drill, and jigsaw. You’ll also need materials like lumber, roofing materials, and hardware, which you can purchase from your local home improvement store.
Step 3: Build the Foundation
The foundation is the most important part of your shed, as it provides a stable base for the entire structure. There are several types of foundations you can choose from, including a concrete slab, concrete blocks, or a gravel base. Choose the type of foundation that works best for your shed and follow the instructions carefully to ensure that it’s level and secure.
Step 4: Frame the Walls
With the foundation in place, it’s time to frame the walls. Use your floor plan to determine the size and placement of each wall, and cut the lumber to size using your saw. Nail the pieces together to form the walls, and make sure they’re plumb and square.
Step 5: Install the Roof
Once the walls are in place, it’s time to install the roof. There are several types of roofing materials you can choose from, including asphalt shingles, metal roofing, and plastic or fiberglass panels. Choose the type of roofing that works best for your shed and follow the instructions carefully to ensure that it’s installed correctly.
Step 6: Add Windows and Doors
With the roof in place, it’s time to add windows and doors to your shed. Choose the size and placement of your windows and doors based on your needs, and cut the openings in the walls using your saw. Install the windows and doors according to the manufacturer’s instructions, making sure they’re level and secure.
Step 7: Finish the Interior
With the shell of your shed complete, it’s time to finish the interior. This may involve adding insulation to keep your shed warm in the winter, installing shelves or cabinets for storage, or painting or staining the walls and floor. Choose the finishing touches that work best for your needs and budget, and enjoy your new custom shed!
Tips for Building a Custom Shed
Here are a few tips to keep in mind as you build your custom shed:
- Always wear protective gear, such as safety glasses and gloves, when using power tools.
- Take your time and follow the instructions carefully to ensure that each step is completed correctly.


