

If you’re looking for an affordable and easy way to pamper yourself at home, DIY body wraps are the perfect solution. Body wraps have been used for centuries to detoxify the body, improve circulation, and tighten and tone the skin. By making your own body wrap at home, you can enjoy these benefits without breaking the bank. In this article, we’ll show you how to make your own DIY body wrap using natural ingredients that you probably already have in your kitchen.
Contents
What Are Body Wraps?
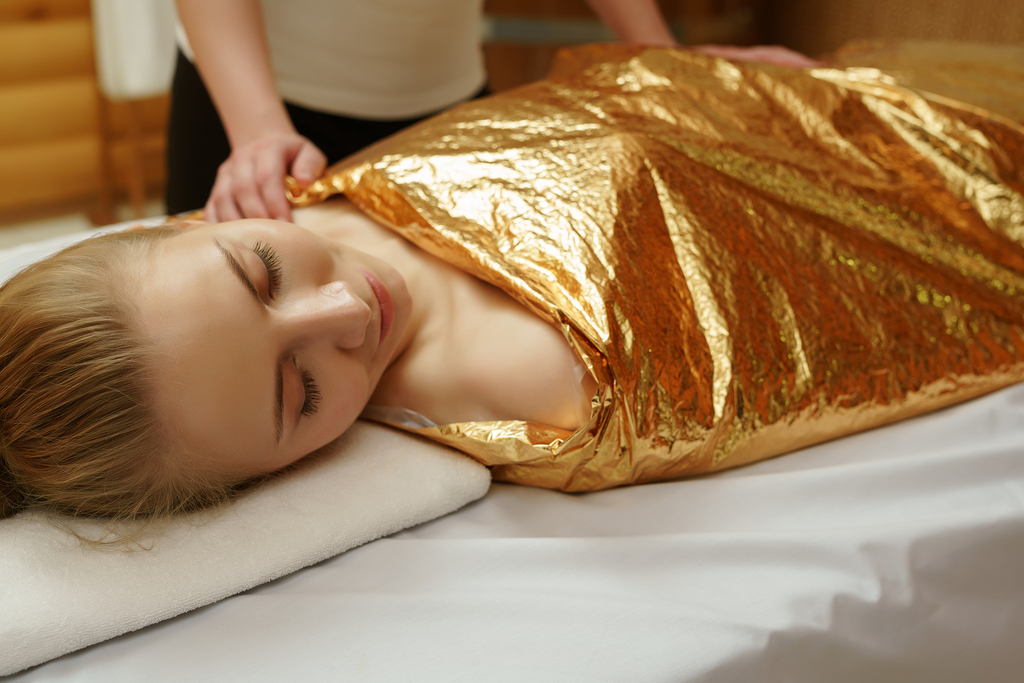
Body wraps are a spa treatment that involves wrapping the body in bandages or a plastic wrap infused with various ingredients. The ingredients used in body wraps vary depending on the desired effect, but they often include herbs, essential oils, and other natural ingredients. The body is then left to sweat and absorb the ingredients for a set period of time before the wrap is removed.
Body wraps are known for their detoxifying properties and can help to remove toxins from the body, reduce inflammation, and improve circulation. They can also help to tighten and tone the skin, leaving it looking smoother and more radiant.
How to Make Your Own DIY Body Wrap
Making your own body wrap at home is a simple and affordable way to pamper yourself. Here’s how to do it:
Step 1: Gather Your Ingredients
To make your own body wrap, you’ll need a few key ingredients:
- Clay: Bentonite clay is a popular choice for body wraps as it helps to detoxify the skin and remove impurities.
- Sea Salt: Sea salt is a natural exfoliant and can help to remove dead skin cells and improve circulation.
- Essential Oils: Essential oils such as lavender, peppermint, and eucalyptus can help to relax the body and improve circulation.
- Plastic Wrap: Plastic wrap is used to wrap the body and help the ingredients penetrate the skin.
Step 2: Mix Your Ingredients
Mix the clay, sea salt, and essential oils in a bowl. Add water to create a paste.
Step 3: Apply the Body Wrap
Apply the mixture to your body, starting from the feet and working your way up. Make sure to cover all areas of the body, including the arms, legs, and torso. Once you’ve applied the mixture, wrap your body in plastic wrap.
Step 4: Relax and Let the Ingredients Work Their Magic
Once you’ve wrapped your body in plastic wrap, it’s time to relax and let the ingredients work their magic. Lie down and cover yourself with a blanket to keep warm. Leave the wrap on for 30-60 minutes.
Step 5: Rinse Off the Wrap
After 30-60 minutes, remove the plastic wrap and rinse off the mixture in the shower.
Additional Tips and Tricks
- Drink plenty of water before and after your body wrap to help flush out toxins.
- Don’t wrap yourself too tightly – you want to be comfortable.
- Use caution when using essential oils, as they can be irritating to some people’s skin. Start with a small amount and test it on a small patch of skin first.
- If you have sensitive skin, consider using a milder clay such as French green clay.
Conclusion
DIY body wraps are a great way to pamper yourself at home and enjoy the benefits of a spa treatment without breaking the bank. By using natural ingredients, you can detoxify your body, improve circulation, and tighten and tone your skin. Follow these simple steps to make your own DIY body wrap and enjoy a relaxing and rejuvenating spa experience in the comfort of your own home.
