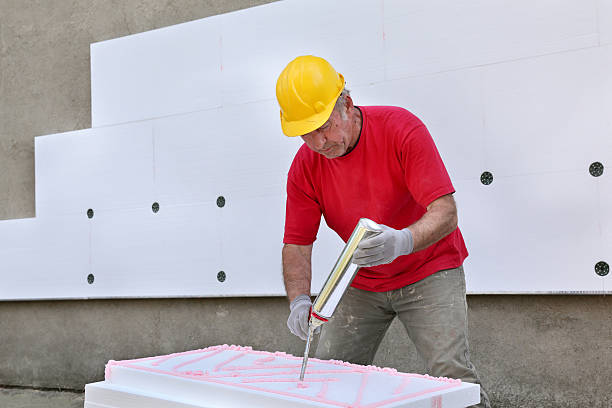
Installing polystyrene insulation is a great way to improve the energy efficiency of your home and reduce your energy bills. The installation process is relatively simple and can be done with a few basic tools. Before beginning the installation, it’s important to make sure that you have the correct type of polystyrene insulation for your needs, as well as the right amount to cover the area you want to insulate.
To start, you will need to measure the area where you want to install the insulation and cut the polystyrene sheets to fit the space. Next, use an adhesive to attach the insulation to the walls or ceiling, making sure to apply the adhesive evenly to prevent gaps or uneven installation. You can also use mechanical fasteners to hold the insulation in place, such as screws or nails, especially for ceilings.
Installing polystyrene insulation is a great way to improve the energy efficiency of your home. It helps to reduce heat loss, keep your home warm in winter, and cool in summer. Polystyrene insulation is also known as EPS (Expanded Polystyrene), which is a lightweight and easy-to-install insulation material. In this step-by-step guide, we will provide you with all the information you need to know to install polystyrene insulation in your home.

Contents
1. Measure the area
Before installing polystyrene insulation, you need to measure the area that you want to insulate. Measure the length, width, and height of the area, and then multiply these three numbers to get the total square footage of the space. Once you have the total square footage, you can purchase the correct amount of polystyrene insulation.
2. Prepare the surface
Before installing polystyrene insulation, make sure that the surface is clean and dry. Remove any dust, debris, or loose materials from the surface. If the surface is rough, you may need to sand it down to create a smooth surface. It is also important to repair any cracks or holes in the surface before installing polystyrene insulation.
3. Cut the insulation
Using a saw, cut the polystyrene insulation to the appropriate size. Make sure that the insulation fits snugly into the space that you want to insulate. If necessary, you can use a utility knife to trim the insulation to fit.
4. Install the insulation
Apply a layer of adhesive to the surface where you want to install the polystyrene insulation. Make sure that the adhesive is spread evenly over the surface. Then, press the polystyrene insulation firmly onto the adhesive. If necessary, you can use a roller to ensure that the insulation is firmly attached to the surface.
5. Seal the insulation
Once the polystyrene insulation is installed, it is important to seal any gaps or joints to prevent air from entering or escaping. You can use a sealing tape or foam to seal the gaps between the insulation panels. This will help to improve the energy efficiency of your home.
6. Finish the surface
After installing polystyrene insulation, you can finish the surface with drywall, plaster, or other finishing materials. This will help to create a smooth and finished look for your walls or ceilings.
Conclusion
Installing polystyrene insulation is a great way to improve the energy efficiency of your home. By following these simple steps, you can install polystyrene insulation in your home with ease. Remember to measure the area, prepare the surface, cut the insulation, install the insulation, seal the insulation, and finish the surface. With proper installation, your home will be more comfortable and energy-efficient.


