

At some point, every homeowner with a wooden fence will need to stain and seal it to maintain its beauty and protect it from the elements. However, if you’re new to fence maintenance, you might be wondering how to get started. In this comprehensive guide, we will walk you through the steps to properly stain and seal your wood fence, ensuring that it stays looking great for years to come.
Contents
Step 1: Clean the Fence
Before you start staining, you need to ensure that your fence is free of dirt, debris, and any other substances that could prevent the stain from adhering properly. To do this, you should first use a stiff-bristled brush to remove any loose dirt or debris. Then, wash the fence with a pressure washer or a hose and scrub brush to remove any remaining dirt or grime.
Step 2: Let the Fence Dry
Once you have thoroughly cleaned your fence, you will need to let it dry completely before moving on to the next step. This can take anywhere from 24-48 hours, depending on the weather and humidity levels in your area. Make sure the fence is completely dry before proceeding.
Step 3: Apply the Stain
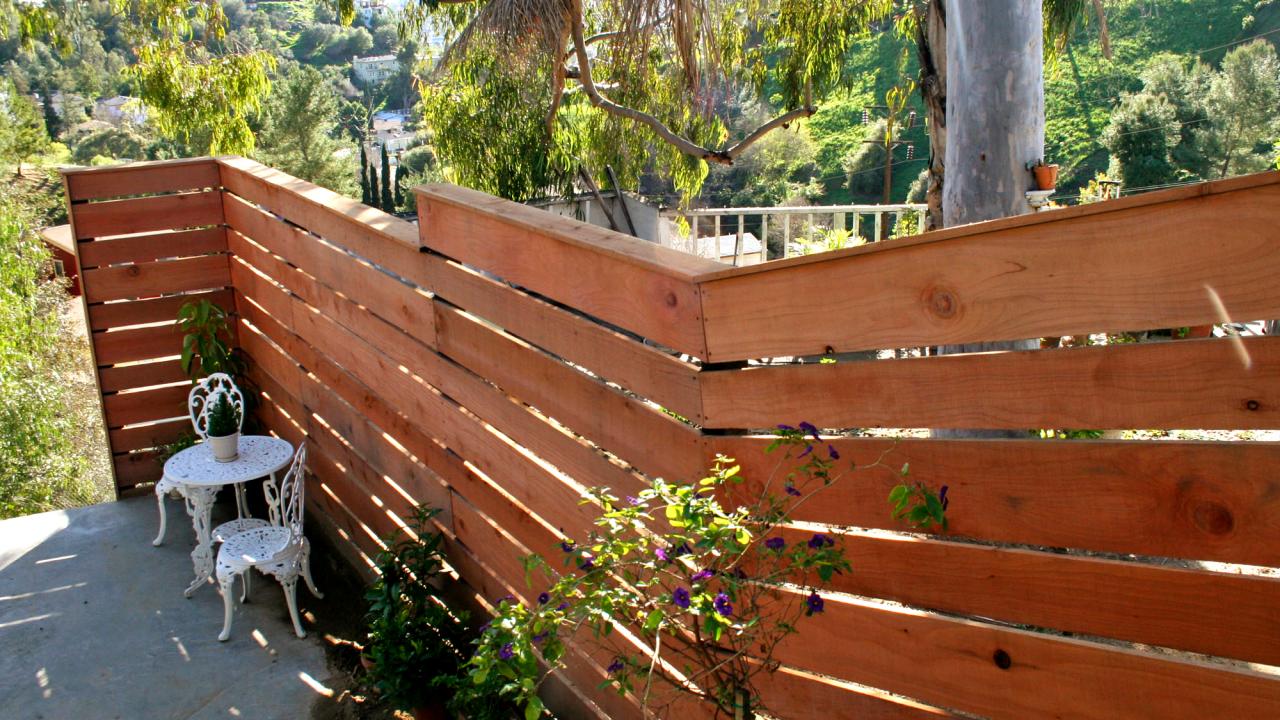
Now it’s time to apply the stain. Choose a high-quality stain that is specifically designed for use on wooden fences. There are two main types of stain: oil-based and water-based. Oil-based stains are generally more durable and offer better protection against the elements, but they can be more difficult to clean up and may emit more fumes. Water-based stains are easier to clean up, dry faster, and emit fewer fumes, but they may not be as durable as oil-based stains.
To apply the stain, you can use either a paintbrush or a sprayer. If you choose to use a paintbrush, make sure to use long, even strokes, and work in small sections at a time to ensure that the stain is applied evenly. If you choose to use a sprayer, make sure to follow the manufacturer’s instructions for use and wear protective gear, such as a respirator and safety goggles.
Step 4: Let the Stain Dry
After you have applied the stain, you will need to let it dry completely before moving on to the next step. This can take anywhere from 24-48 hours, depending on the weather and humidity levels in your area.
Step 5: Apply the Sealant
Once the stain is dry, you can apply a sealant to help protect the fence from the elements. Choose a high-quality sealant that is specifically designed for use on wooden fences. There are two main types of sealant: oil-based and water-based. Oil-based sealants are generally more durable and offer better protection against the elements, but they can be more difficult to clean up and may emit more fumes. Water-based sealants are easier to clean up, dry faster, and emit fewer fumes, but they may not be as durable as oil-based sealants.
To apply the sealant, you can use either a paintbrush or a sprayer. If you choose to use a paintbrush, make sure to use long, even strokes, and work in small sections at a time to ensure that the sealant is applied evenly. If you choose to use a sprayer, make sure to follow the manufacturer’s instructions for use and wear protective gear, such as a respirator and safety goggles.
Step 6: Let the Sealant Dry
After you have applied the sealant, you will need to let it dry completely before moving on to the next step. This can take anywhere from 24-48 hours, depending on the weather and humidity levels in your area.
